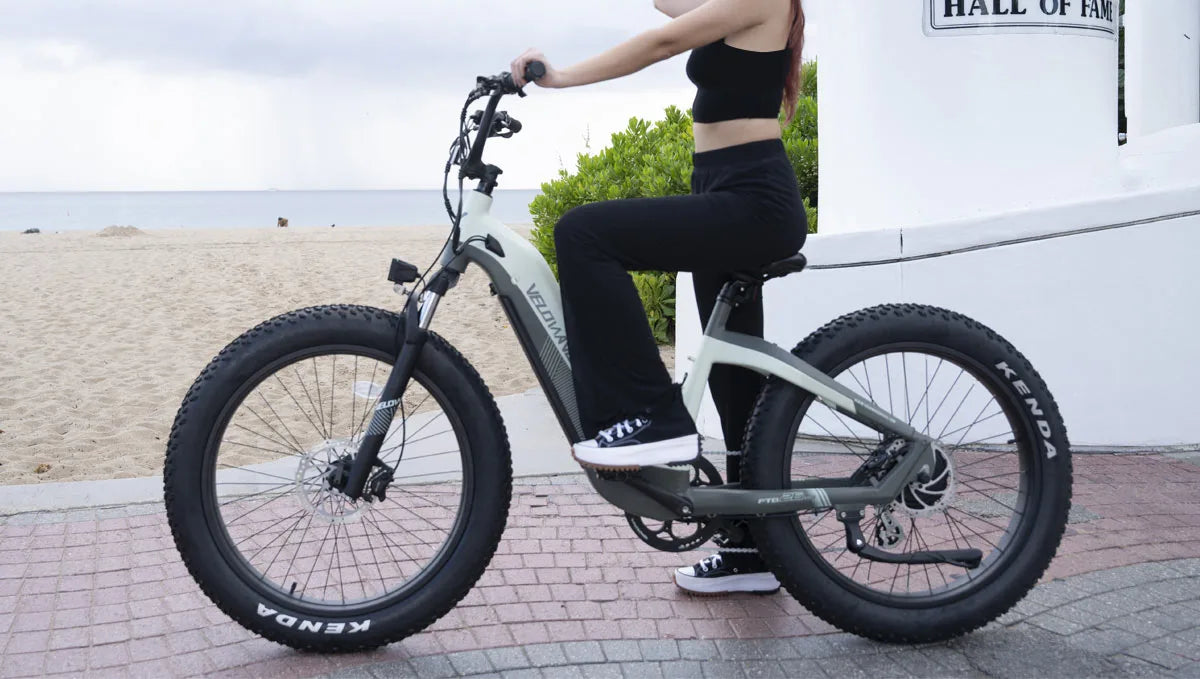
How to Achieve the Perfect Fat Bike Tire Pressure?

Tire pressure is a matter of personal style and preference. The ideal pressure will depend on your riding preference, terrain, and the bike's tire size. For example, a mountain bike tire with an 80-100 psi recommended pressure will work nicely on mellow to intermediate trails or most backcountry adventures. An aggressive mountain bike tire with a recommended inflation of 150-200 psi will be best suited for cross-country/singletrack trail riding that is expected to be more technical and challenging in bad weather conditions. But most fat bike owners will ride in mostly all-weather conditions, on pavement and pavement-like surfaces that can be more challenging. Most would prefer a bumpier experience, so they chose to run their tire at a lower pressure from around 20 psi up to 30 psi or even more. That's why a lot of people have questions about how to achieve the perfect tire pressure. The answer to this question depends on more factors than just the recommended tire pressure.
Here are Some Guidelines Below on How to Check and Adjust Your Tire Pressure:
1, Check both front and rear tires concurrently
The most important thing is to have both the front and rear wheels at their optimal levels of inflation by checking both sides of the bike at once. This allows you to be sure that the pressure is even, balanced, and not skewed to one side.
2, Use a gauge
The tire manufacturers' recommendation is just a baseline, really. It's best that you get a digital or analog gauge that measures in PSI (pounds per square inch). The tools can be found almost anywhere, and most of them are also fairly affordable. What's important is for you to find the recommended PSI for your bike before setting out on an adventure. To check the recommended pressure for your tires, simply look at the side of your tire, and there should be a number listed there from 80-120psi or 150-200psi, depending on which tire you use.
3, Start out low
The reason to start out low is that you will feel the difference when you go for a ride. You will notice when you are riding that your tires are not as responsive, and it's difficult to maintain traction on icy surfaces or wet paths. They will also wear faster. It's best that you take your time and go slow, testing your fat bike tire pressure first before starting out on an adventure in order to get used to the system.
4, For long trips
This is a good rule of thumb, really. The higher the air pressure, the quicker they will wear out. This is because the tires need to work harder to roll. It's best that you let them sit overnight and then check them again because of temperature fluctuations.
5, For short trips
As with long trips, you will want to check tire pressure before embarking on a ride. If it's a short trip, like going from one side of town to another, it's not necessary that you get an air pump or your bike pump out. Simply use your thumbs (if you are doing this task without the help of anyone else). This is also a great way for you to see if your tires have proper pressure for road conditions and when compared side by side to the other wheel.
6, Weight and terrain
If you are doing winter conditions or in snow, it's best that you check your tire pressure before setting out. Also, note that weight will affect the performance of your bike and tires in several ways.
Conclusion
A fat bike tire with about 30 psi is the ideal pressure for fun, but try it out first before riding. Riding your bike on different terrains will also change your fat bike tire pressure. It's best that you always inflate or deflate your tires depending on the surfaces you ride on.